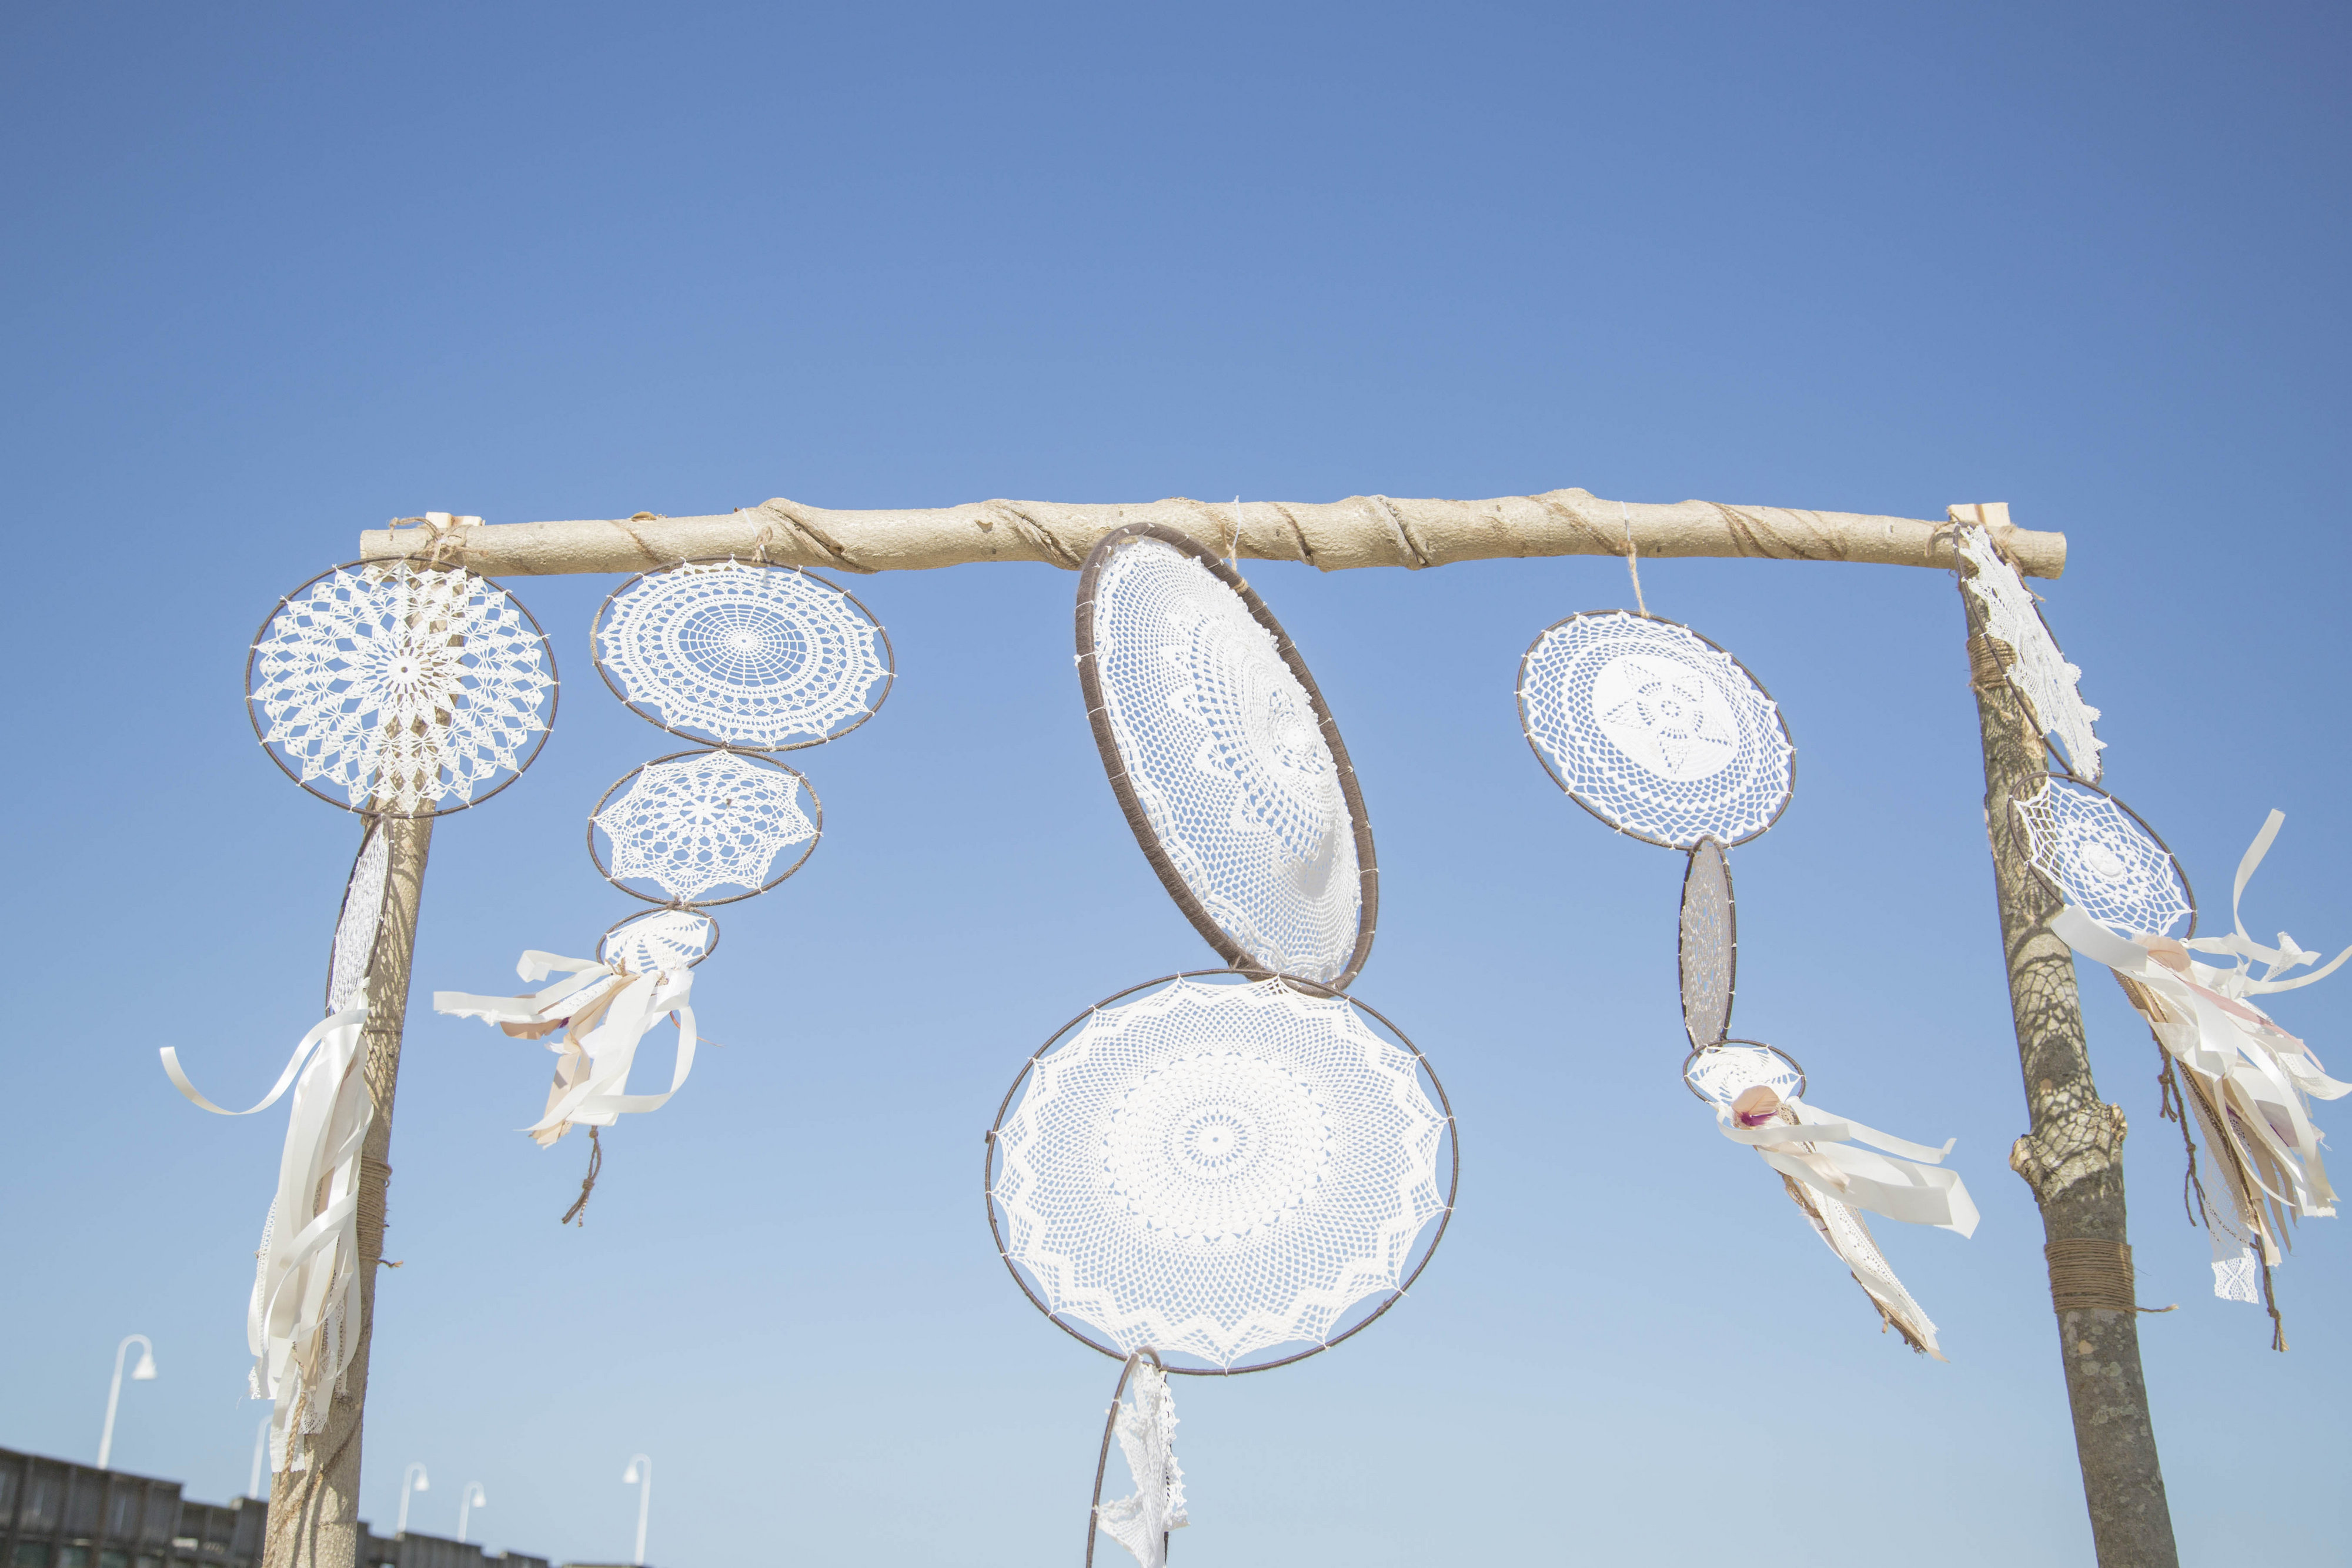
DIY Tutorial: Bohemian Inspired Dreamcatcher
July 17, 2016
I am a sucker for a great DIY project and for our boho-inspired photo shoot, I knew exactly what I wanted to do. The dreamcatchers I designed used elements that have nearly vanished because they are considered “old” and not trendy, but I beg to differ. The crochet doilies your grandma or great grandma knitted are coming back! How does the saying go…history has a way of repeating itself.
Simply follow our step by step directions and you too can create your very own boho-inspired dreamcatcher. If you need a visual, please watch the video as well.
Materials you are going to need:
Hoop of your choice (may use metal, wood, or embroidery)
Leather lace/ ribbon/ yarn
Crochet or lace doily
Feathers (varying sizes)
Beads or trinkets
Hot glue gun
Wire
Wire cutters
Scissors
Once you have gathered your materials make sure you have a space where you can work and move freely. I found working in my office with my TV on was the easiest way to get through the first step.
Step 1: Get your loop. I chose to use a metal loop, which I purchased at Hobby Lobby. They have different sizes, which allowed me to give my project depth and texture. Once you have your loop, use the hot glue gun to adhere the yarn to your hoop. (In some of the YouTube videos I watched they held the yarn in place on the hoop with a paper clamp. I found I didn’t have to do this because I allowed the glue to set before I began wrapping the hoop.)
Also, like I stated earlier, you may want to do this step while watching TV or listening to music because it will take 10-30 minutes to wrap the hoop completely depending on the size.
Step 2: Once you’ve gone all the way around the hoop with the yarn, hold onto the yarn tightly and come back to the beginning of the hoop and make sure you’ve pulled the yarn taut leaving the hoop completely covered without the hoop shining through (if you are confused please refer to the video for clarity). After you’ve completed that step, glue the end of the yarn back to the hoop to close it off.
See easy peasy! The hard step is over and you can move onto the fun parts, adding the doily to the hoop and accessorizing with beads and trinkets. If by chance you don’t have any doilies and you don’t know where to get them, I found mine at local estate sales and antique shops in my area. They are fairly inexpensive so don’t be suckered in to spending over $10 for one unless you absolutely love the design. You can also find them on Etsy, but make sure you check the description boxes as some of them may be damaged and unless you want a hole in your finished dreamcatcher, I would steer clear of the ones with “damaged” in the description box.
Step 3: Cut 8 three-inch strips of yarn and set them to the side. You may need more strips depending on the size of your dreamcatcher. Next, center your doily in the middle of the loop and thread the yarn through the openings. Make sure to tie them on alternating sides to ensure the doily stays centered and is taut.
Step 4: Cut 4-6 strips of yarn of varying lengths between 5-8 inches and 1 strip of yarn four-inches long. Loop the four inch strip and knot at the end. You will then wrap the loop around the base of the dreamcatcher creating a hanging loop. Now for the other strips, you will knot one end to the base of the dreamcatcher—opposite of the hanging loop and add you accessories to the bottom (please watch the video to learn how to put the feathers onto the dreamcatcher). With my dreamcatchers, I decorated the bottom with mostly ribbon and then went back and added some feathers.
Your feathers may also be purchased at Hobby Lobby or a local craft store in your area. The feathers I used were found on Etsy. I really enjoyed the color selection I was able to find which matched my theme beautifully.
Once you have placed your trinkets and such how you want them, you are finished.
I hope this tutorial was easy and if you have any question please comment below. If you like this tutorial please like and share! And if you have a DIY you want to attempt but don’t know where to start shoot us an email and we will get you on track. As always thank you for reading and we will catch you next time!
XOXO,
Shamira
Principal Planner, Magnolia Rose Company


